Why Should I Clean Essential Oil Bottles?
Essential oils! They’re like little drops of nature’s magic, aren’t they? From lavender’s calming whiffs to peppermint’s invigorating zephyrs, these oils enrich our lives in myriad little ways. But cleaning essential oil bottles isn’t just about tidiness; it’s about preserving the purity of your future blends. Residues, however minuscule, can alter the scent and efficacy of new oils you add later. Trust me, I learned this the hard way!.
cleaning essential oil bottles
Gathering Necessary Materials for the Cleaning Process
Before diving into the cleaning process, ensure you have everything you need. Gather your empty essential oil bottles, some soapy water, a trusty bottle brush, and a bit of vinegar or rubbing alcohol. It’s like gathering your armor and weapons before a battle, but far less dramatic!
Understanding Different Types of Essential Oil Bottles
Now, not all bottles are born equal. Knowing the type of bottle you’re dealing with is crucial for an effective cleaning.
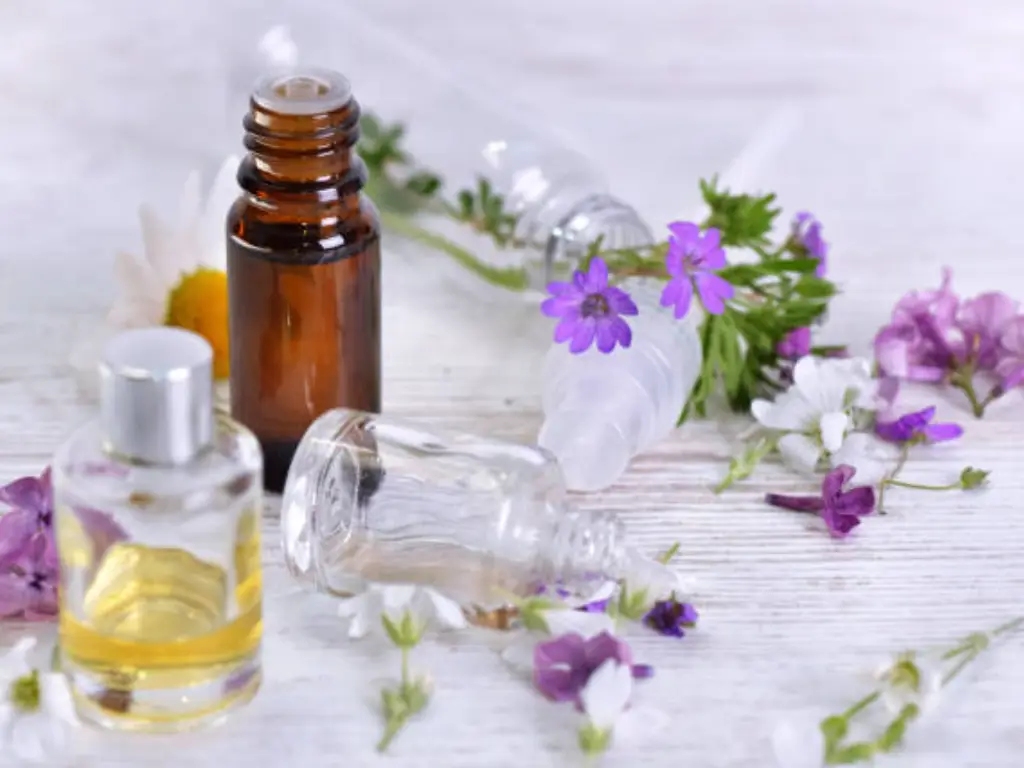
Glass Bottles: Amber/Brown and Clear Varieties
Amber glass bottles are the most common. They’re like little guardians, protecting the oils from sunlight. Clear bottles, though less common, are equally charming and need the same loving care.
Plastic Bottles: Identifying PETE and HDPE Types
Occasionally, you’ll come across plastic bottles. These are usually marked with a recycling symbol with a number inside: PETE (1) or HDPE (2). They require a gentle touch, as harsh chemicals can be their undoing.
Step 1: Emptying the Bottles
Getting every last drop out is a skill, honed by patience and a bit of ingenuity.
Techniques to Extract Every Last Drop
Tilt and gently tap the bottle to gather all the remaining oil. If you have a dropper, use it to coax out those stubborn last bits.
Creative Uses for Residual Oils
Don’t waste those remaining droplets! Mix them with carrier oil for a custom blend, or add them to a bath for an aromatic experience. Waste not, want not!
Step 2: Disassembling the Bottles
Cleaning essential oil bottles? First, you gotta take them apart. Be careful and gentle with the small parts.
Getting Rid of Caps and Orifice Reducers
Start by easing off the caps and the orifice reducers or rollers. You can usually do this with your hands. If they’re really stuck, try a small metal opener or even a butter knife. Just slip it between the cap or reducer and the bottle’s neck and lightly pry it open. But don’t push too hard – you don’t want to break anything or hurt yourself.
Dealing with Labels and Sticky Stuff
Next, get rid of any labels and glue. It might look easy to just peel off labels, but they leave a sticky mess. Soak the bottles in soapy water for like 20 minutes, focusing on where the label is. This softens the glue, making it easier to peel. If there’s still some sticky stuff, put a little bit of oil or alcohol on it. Gently scrape off any left-over glue to make the bottle ready for a good wash.
These steps make sure your essential oil bottles are prepped and ready for a serious cleaning, getting them set for their next use.
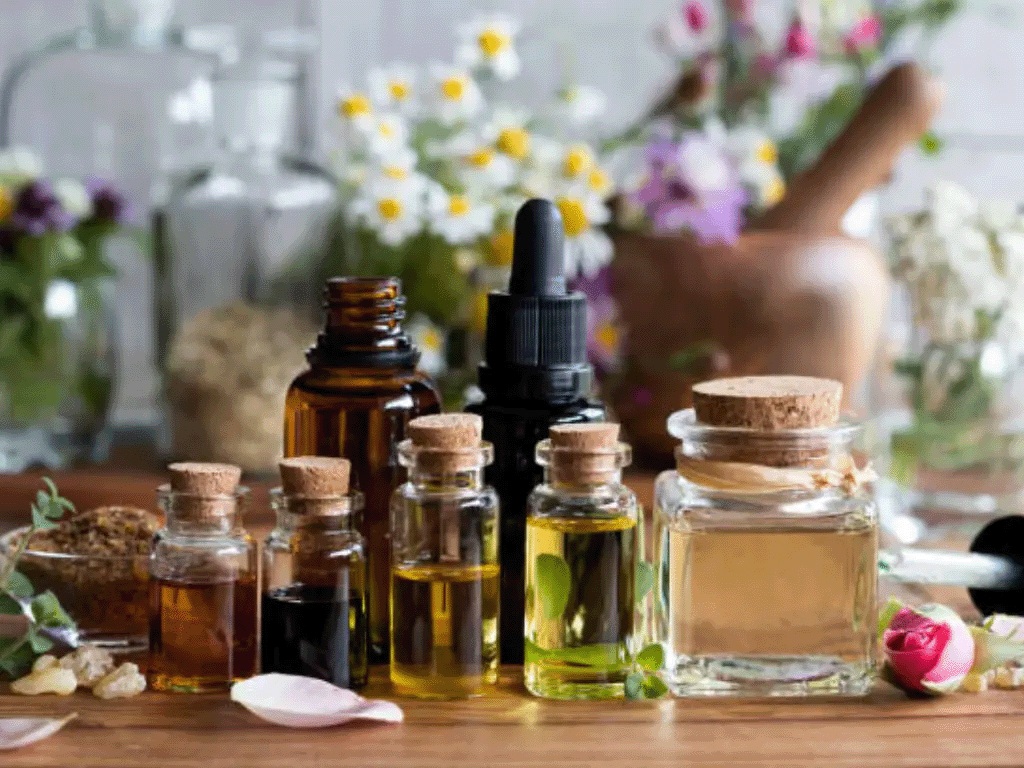
Step 3: Cleaning Glass or Plastic Bottles
When you’re into essential oils, cleaning the bottles is a big deal. It’s where you need to be patient and really careful. Let’s talk about how to clean these bottles right so that all the oil and smell are totally gone.
Solvents to Get Rid of Oil Gunk
Warm soapy water is your best friend for cleaning off oil gunk. It’s easy to make, and you probably have it at home. For tough stuff, vinegar is great because it’s natural and gets rid of smells too. If you need something stronger, especially to get rid of scents, rubbing alcohol is super good. It kills germs and makes sure there’s no smell left. And if you don’t have these, believe it or not, vodka works too! Its alcohol gets rid of the gunk and germs.
| Solvent | Cleaning Strength | Best Used For |
| Warm Soapy Water | Moderate | General Cleaning |
| Vinegar | Moderate | Natural Disinfecting |
| Rubbing Alcohol | Strong | Disinfecting & Deodorizing |
| Vodka | Strong | Disinfecting & Solvent |
Care for Plastic Bottles
Plastic bottles need you to be gentle. They don’t like hot water or strong chemicals. Use warm water and a gentle dish soap instead. This way, your plastic bottle stays in good shape without getting messed up.
Scrubbing and Rinsing
To really get the oil and smell out, fill the bottle with your cleaning mix and let it sit for an hour or more. Then, throw out the mix and rinse the bottle with clean water. For bottles with small openings or if the oil is thick, use a bottle brush or a cotton swab with soapy water to scrub inside. After scrubbing, let the bottles air-dry. This is the last step.
Step 4: Cleaning Caps and Accessories
Those little parts need love too.
Detailed Cleaning of Small Parts
Soak caps and orifice reducers in soapy water or vinegar solution. A toothbrush can be handy for scrubbing.
Ensuring Complete Residue Removal
Rinse them well. Any residue left can affect your next oil blend.
essential oil bottles
Step 5: Drying and Storage
After you’ve cleaned your bottles, drying and storing them is super important. This is how you keep them ready for next time.
Tips for Thorough Drying
To dry them well, put the bottles and parts on a flat spot or a strong rack to air dry. It might take a day or more. When the outside looks dry, gently dab the inside with a paper towel. Make sure it’s totally dry inside to avoid mold or ruining your hard work.
Storing Cleaned Bottles for Future Use
When storing, pick a cool, dry place out of the sun. This stops damage or mold inside the bottles. If you have essential oil bottles, label them. It helps you stay organized and find each one easily later. Storing them right means your bottles are all set for their next use, holding another great scent or whatever you decide.
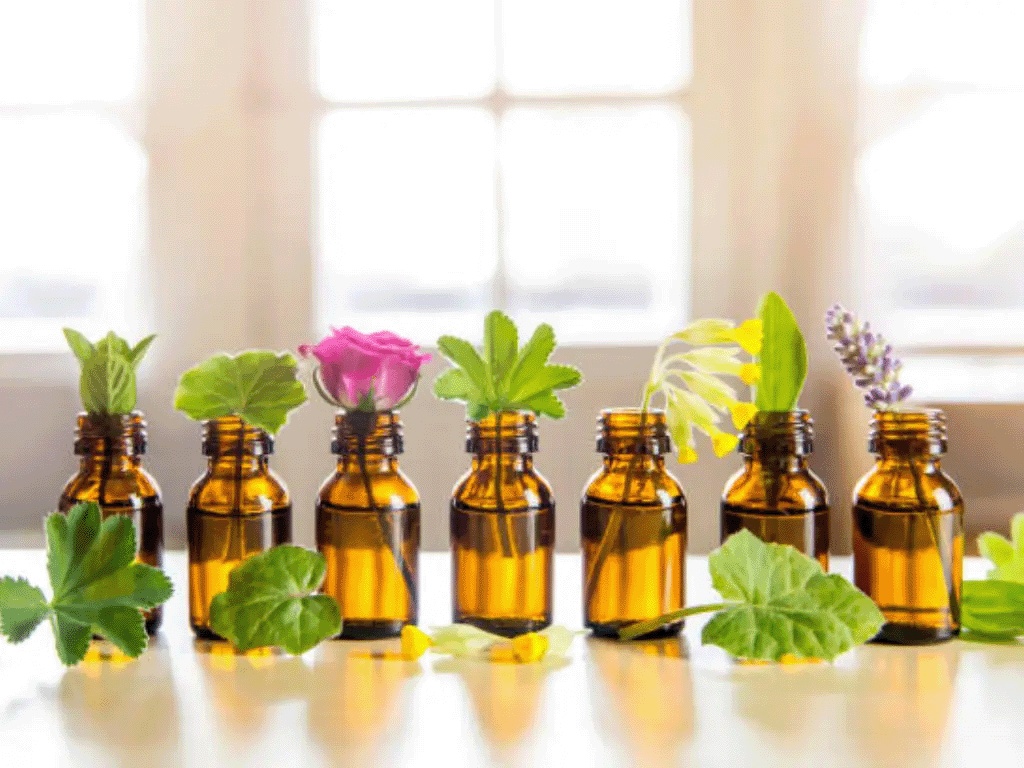
Tips for Reusing Cleaned Essential Oil Bottles
Creative Ideas for Repurposing
Get crafty with your empty essential oil bottles! Turn them into your own blends—special perfume or cologne mixes. These little bottles are great for carrying your DIY scents on the go. Plus, they make cute decorations. Imagine a small flower or a reed in an essential oil bottle, making a tiny vase that brings nature into your room. Or, paint the bottle to make it a one-of-a-kind art piece. The sky’s the limit with your creativity!
Safety and Compatibility Considerations
But, be careful when reusing these bottles. Some essential oils can mess up plastic ones, and glass bottles might break if they’re in the sun too long. Make sure the bottles are in good shape and safe for what you want to put in them, especially with sensitive stuff like essential oils.
By doing this, we keep these handy little containers useful and help our planet too.
upcycle essential oil bottles
Final Words
Washing and reutilizing essential oil bottles isn’t merely another quotidian task on our to-do lists; instead, it goes beyond being a mere act of cleanliness. This seemingly insignificant action denotes an emblem of consciousness in mooring an allegiance with our beloved earth. By instinctively engrossing ourselves in cleaning and essentially reusing these bottles, we are, in our small but substantial way, contributing positively to the betterment of the environment by generating lesser waste. Consequently, increasing sustainability by utilizing our resources astutely.
The process pieces together have even more nuances than just sanitization. It transmutates into an assist for the ecosystem, minute by minute. So fear not to step out of the bounds of regular cleanliness and venture into what is a small, paramount part of our life cycle that gravitates efficiently towards preserving the atmosphere.
Further, thorough purging and reusing these capsules sprinkles a dash of inventiveness to our lives. We are whirled into the anticipation of forging unique utilities like adding a soothing aura with aromatherapy applications or as curative small-size beanies for lingering oils or sprucing mundane spaces with awe-inspiring decor pieces.
So, here’s a fetching proposition: once you yield an empty essential oil container, view the cleaning process not as scraping off unsightly residues or a cursory clean-up. Regard it as an opportunity to enforce an environmental reprieve and radiate inventive possibilities, engraving the essence of sustainability into our daily chores modestly but effectively.
